Kubernetes (k8s) is the most popular and powerful container-orchestration platform. It lets you rapidly deploy, manage, and maintain applications. K3S is the lightweight and certified Kubernetes distribution that’s perfect for development, CI/CD, edge computing and arm-based architectures. With a reduced footprint and easy setup, K3S can be up and running in minutes - taking Kubernetes anywhere.
Let’s dive into what makes K3S so great! Unlike other Kubernetes distributions, K3S packs all of the features you’d expect from a production-ready Kubernetes deployment into a single binary of less than 50MB. This compactness has dramatic benefits when time and space are both limited. Additionally, to get the most out of K3S, it includes a bundle of additional components such as Helm and Traefik.
K3S also contains an embedded database, making cluster services quick to start up. This ensures that all your nodes remain in sync with each other. Furthermore, K3S is one of the few distributions to offer support for arm-based architectures. As a cloud-native and low-resource solution, K3S is designed to work well with a wide range of IoT devices and edge computing tasks.
K3S’ one-click install and kubeconfig generation means that you can quickly spin up an application ready for use. This benefit decreases setup time and comes in particularly handy when deploying micro-services to multiple cloud and on-premise servers. All of this considered, K3S is one of the easiest ways to get Kubernetes up and running in no time flat.
Table of Contents
- Create a Virtual Machine in Proxmox
- Install K3S
- Deplopying Portainer with Kubernetes
- Adding Nodes to the Cluster
Create a Virtual Machine in Proxmox
Once again I will be leveraging my terraform code that I have mentioned and provided in previous posts. In the case of k3s I will still deploy 3 nodes so that I can demonstrate adding addtional nodes to the cluster.
If you want to check out the terraform code I am using for deployment of my VMs in Proxmox then please check out Deploying Kubernetes With Rancher and Proxmox and Deploying VMs With Terraform In ProxMox.
Install K3S
Let’s start by visiting the K3S website: k3s.io
Copy the command from their frontpage 
1
curl -sfL https://get.k3s.io | sh -
Paste and run the command into your master node and give it a few moments to install. 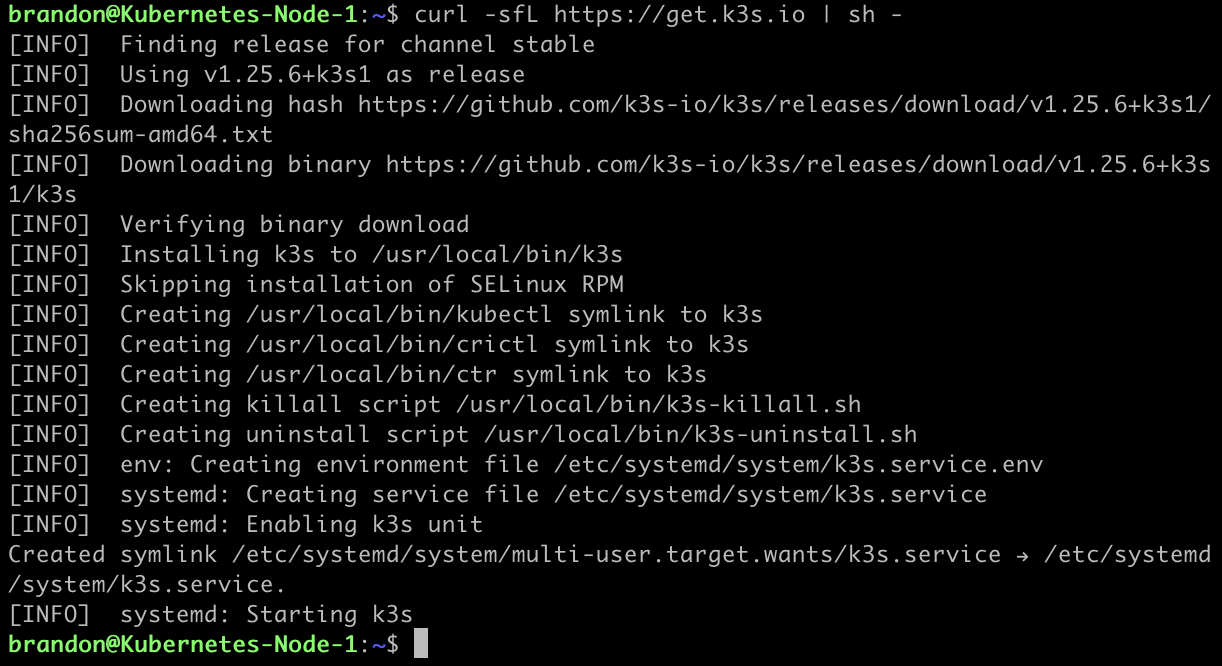
Now to check your K3S node is up and running, run the second command from the site.
1
k3s kubectl get node

Congrats! This is basically all it takes to get Kubernetes up and running with K3S! However, I want to take it a couple of steps further in this post with K3S, so let’s continue.
Deplopying Portainer with Kubernetes
I am going to be using YAML manifests and the documentation for portainer and Kubernetes can be found here: Install Portainer-CE on Kubernetes
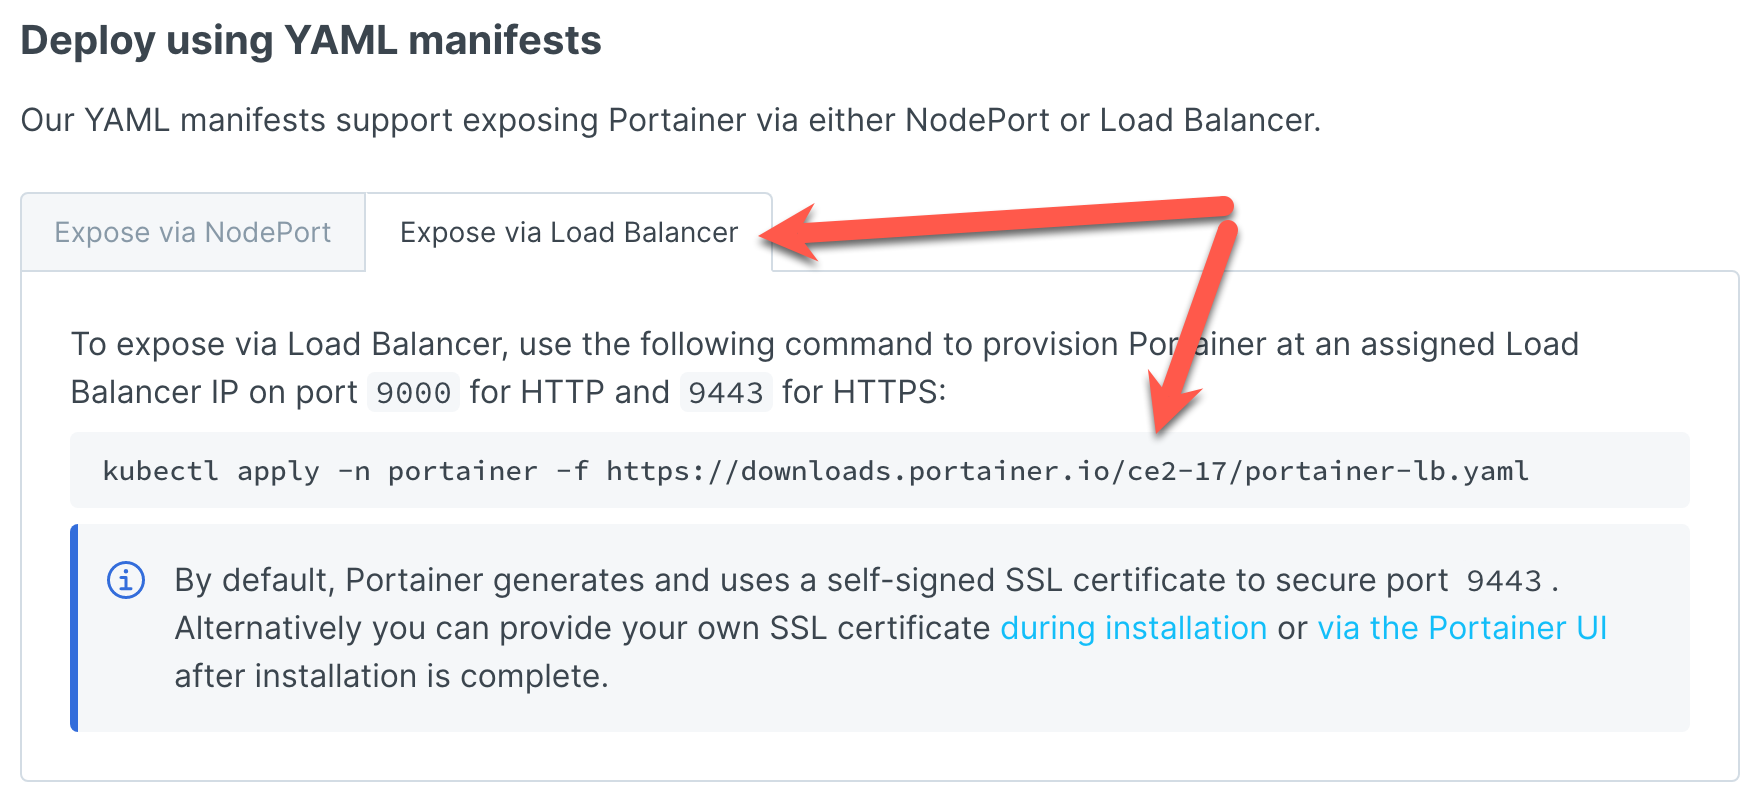
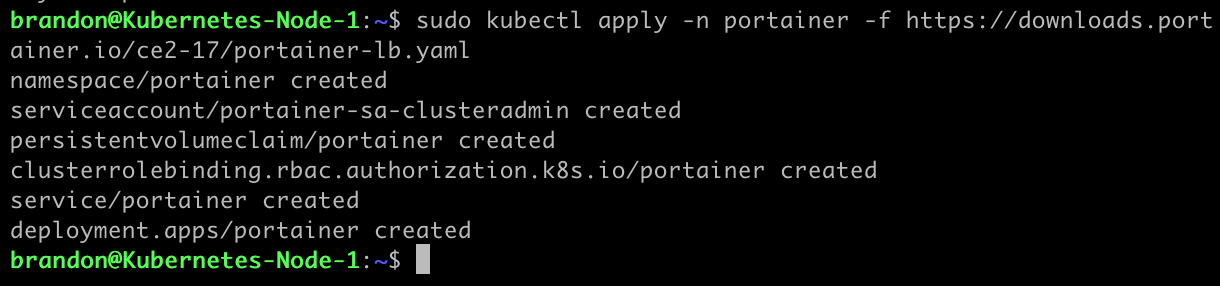
K3S ships with traefik, which is a load balancer, by default. So we are able to leverage this by choosing the “Expose via Load Balancer” tab and then copying/running the command below.
There is a security feature with Portainer that may prevent you from creating the inital admin user password because of timeout reasons. If you run into this issue, it will require that you restart the service. To restart the services simply run the following command:
Now if we run the following command we will be able to see Portainer running in Kubernetes, what external IP, and what port it is listening on:
1
sudo kubectl get service -A

Now we can access Portainer with the following: https://<externalIP>:9443
This will bring us to the admin password creation page. 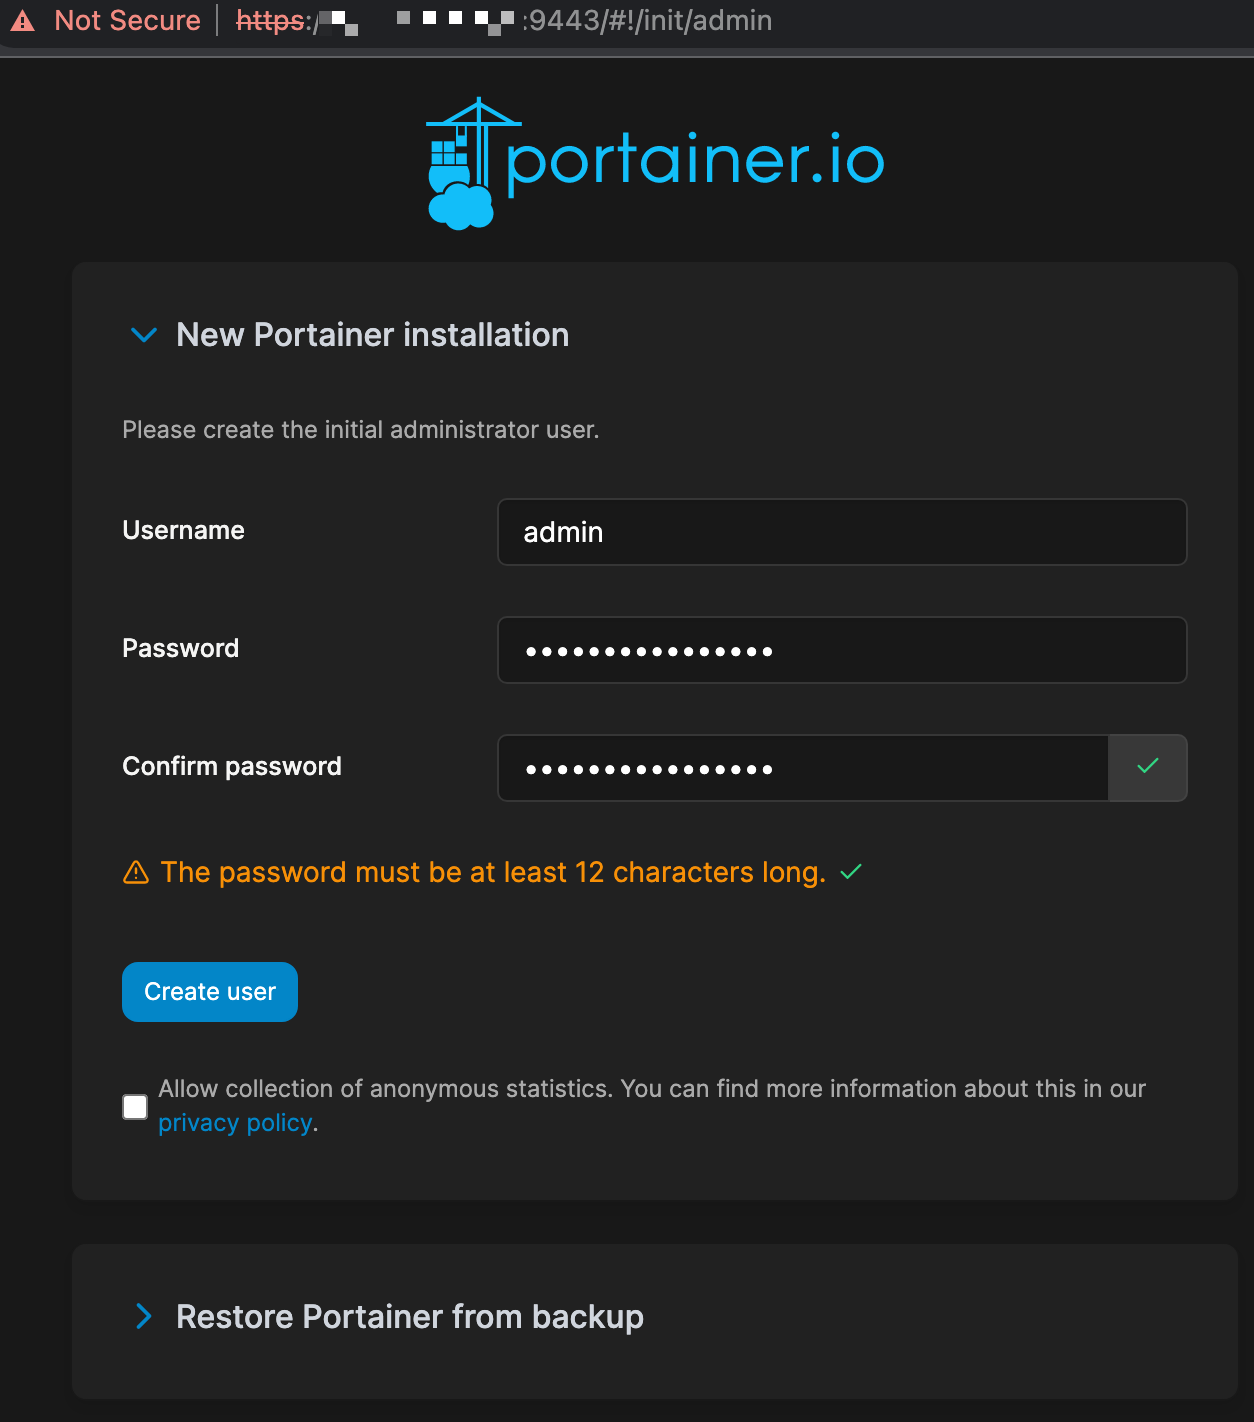
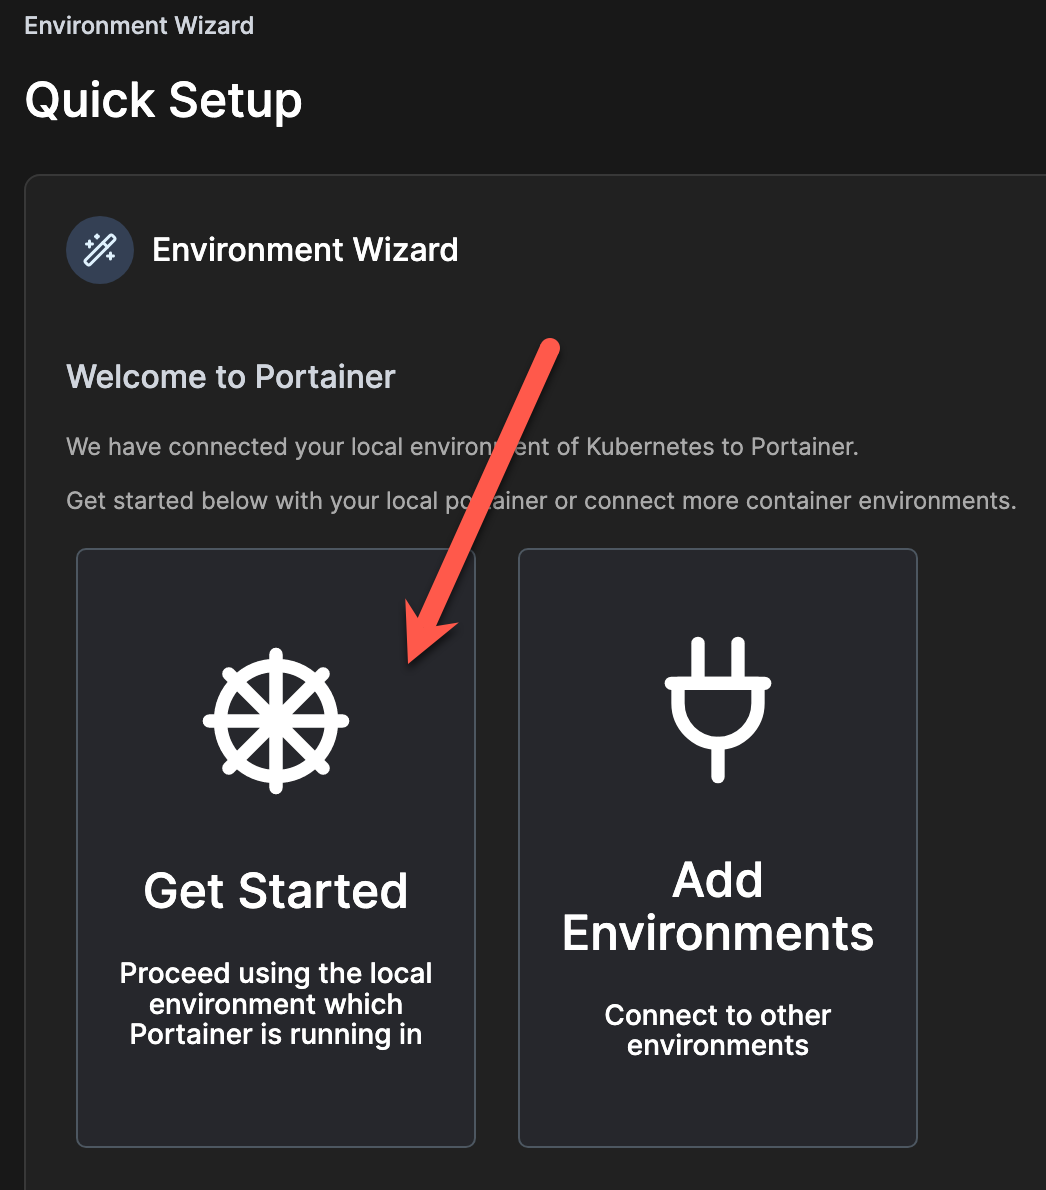
Next choose “Get Started”
Adding Nodes to the Cluster
Now that K3S is installed and running, we have successfully set up Portainer and are ready to complete our cluster. To do so, let’s add some additional nodes to our cluster.
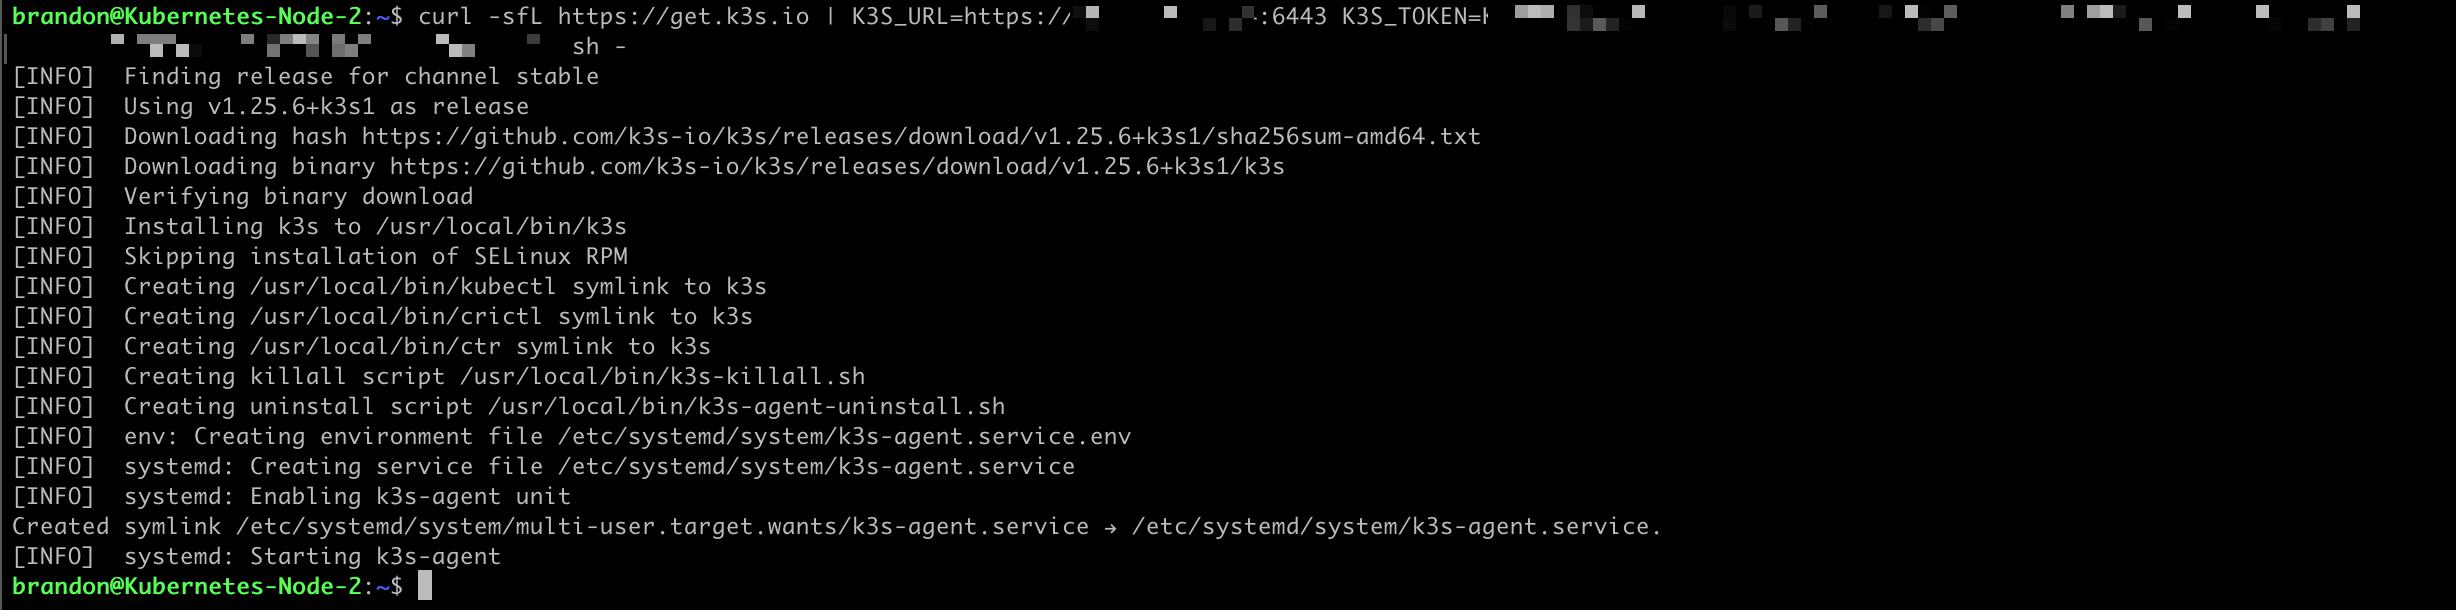
The first thing we need to grab for this step is our node token. This can be found at the following directory: NODE_TOKEN comes from /var/lib/rancher/k3s/server/node-token on your server
Once you have your node token, we can run the following command on the other machines we want to add as nodes for our cluster: curl -sfL https://get.k3s.io | K3S_URL=https://myserver:6443 K3S_TOKEN=mynodetoken sh -
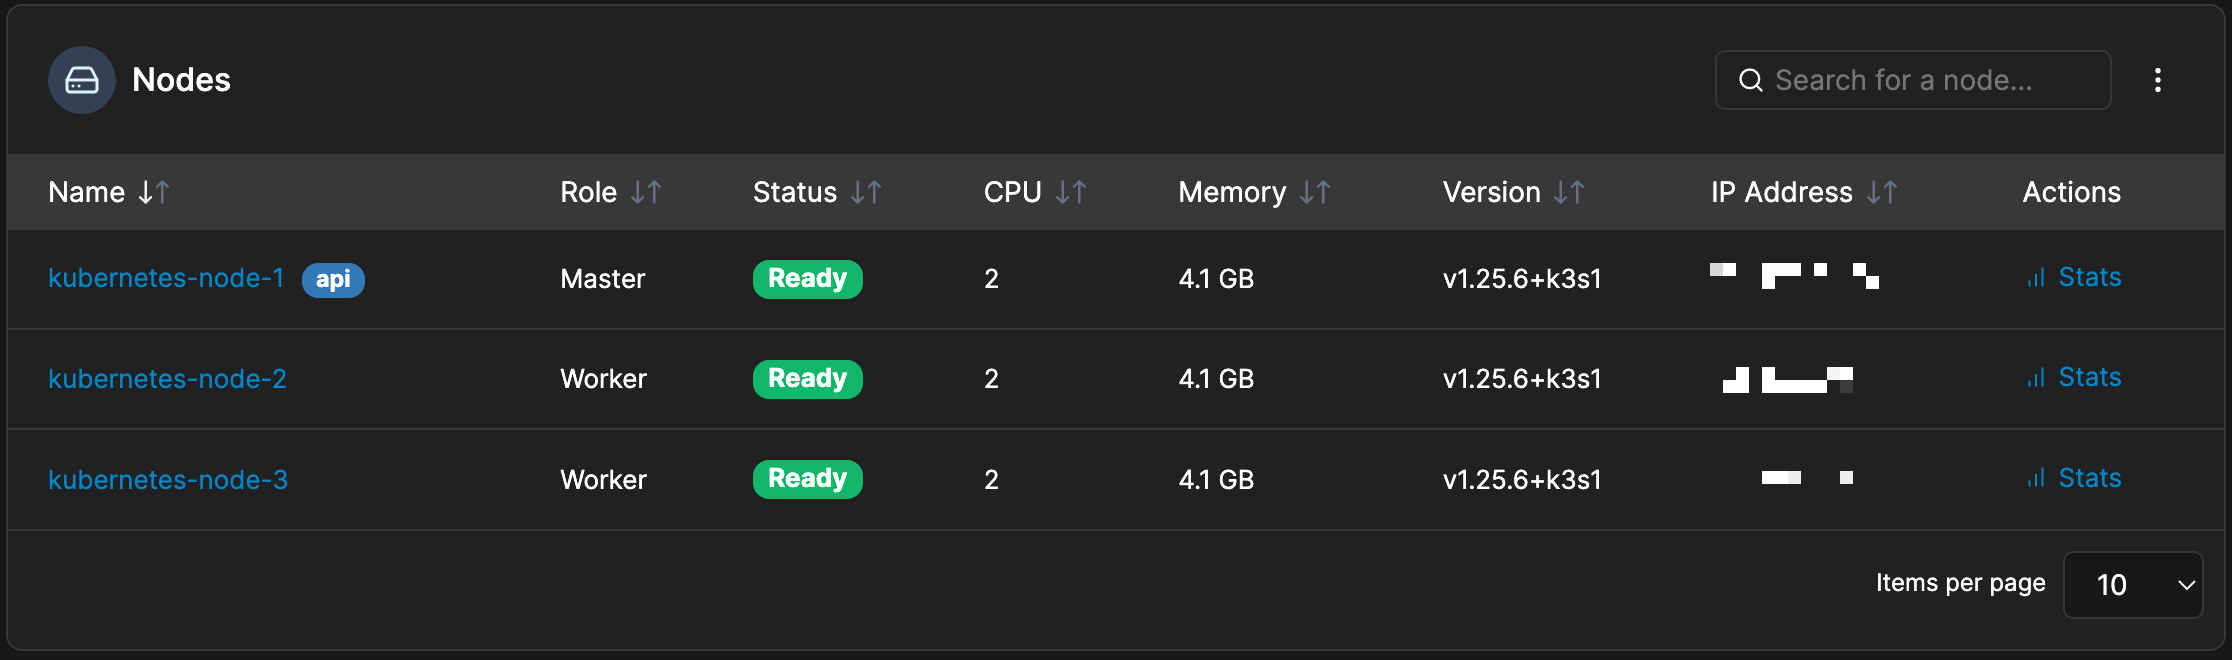
Now we can check Portainer and see our nodes have been added.